
Let's Make the Solar System
- JS
- Mar 8, 2021
- 3 min read
Updated: Mar 21, 2021
Materials:
Planets/Sun cut -outs
Scissors
Color pencils/crayons
Laminating Sheet/Laminator (optional)
Mobile:
String
Circular cardboard or food container lid (great way to teach kids to upcycle)
Crown/Belt:
Tape
Construction/Recycled paper
Wall/Window Stick-on:
Tape
Directions
1) Create the Planets/Sun on Word or Google Docs or download the activity sheet to the right. Try your best to size the planets to reflect their size differences. IE: Jupiter is the biggest, Mercury is the smallest. Of course, it will be difficult to have a REALLY big Sun, but do educate your kids on its size! Write down the name of the Planets/Sun as well for the kids to match.
*The PDF attached has names written twice as I had made it for both my kids.
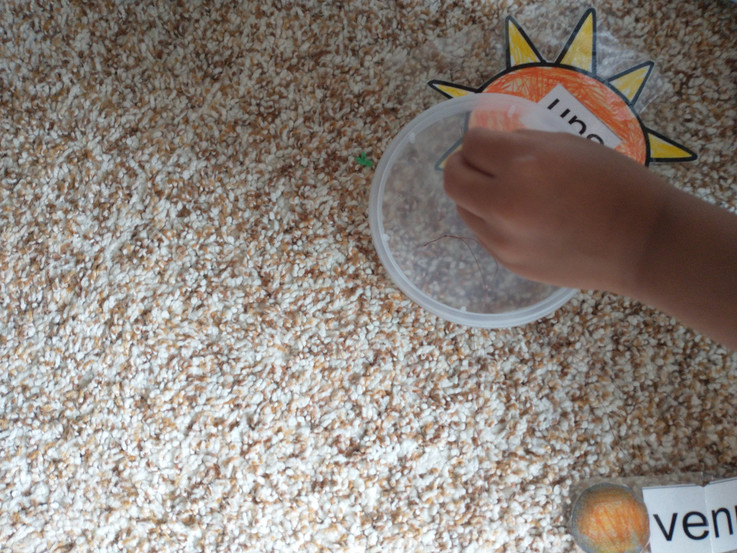
2) Have Kids color the sheets prior to cutting it. Use a book for reference for kids to know what color to use for the planets.


3) Cut out the planets and names. You may use a laminator if you have one so they don't rip easily and can be used longer. Place the name on top of the planets before laminating.
This is where you can go in 3 different directions:
To make a Mobile: (see slideshow)
1) Cut out a hole on top of the Sun/Planets for string to go through.
2) Use a Lid or cardboard. I used a lid from a used food container. Make 1 hole in the center and 8 holes around it in the periphery.
3) Tie strings around the Sun/Planets and attach it to the lid as shown below. Make sure the strings you cut are different lengths so all the planets can be seen.
4) After all the planets have been stringed to the lid, tie all the strings together in a knot at the top of the lid.
Tips from mistakes we made
-Print 2 of each planet/sun and attach the pictures so the planets can be seen on both sides, not just one side. Laminate them AFTER.
-Use a larger lid/surface area so the planets are not as close to each other.


To make a Crown/Belt: (see slideshow)
1) Use recycled paper you have or construction paper and cut it into strips.
2) Attach the strips with a stapler.
3) Tape the Sun and Planets in order to the strip.
4) Attach the 2 ends of the strip together with a stapler and its ready to be worn as a crown/belt.
Tips from mistakes we made
If you plan to do this, reduce the size of all the planets/Sun/Words so they can fit around your child's head/waist before printing.


Alternate Option:

If your band ends up too big, turn it into a wall hanging! (see image to the right)
Wall/Window Stick-on:
1) Use tape to stick the planets and sun on the window/wall.
2) You can enhance it by drawing orbits if you choose to do so.

We stuck the planets in order of distance from the Sun for the window. And for the wall, we made an ellipse to show that each planet has its own orbit and how far it is from the Sun. We did not draw the orbits on the wall but the kids could trace them with their finger.

Tips to stay environmentally conscious:
-Use back of your old printouts/worksheets to print out the planets.
-You can also use newspapers to create the band for the crown/belt.
-If you are not planning on keeping it long-term or passing it along to others, do NOT laminate so it can be recycled.
*When your kids grow out of this activity, do NOT throw away! Pass it down to your family/friends or donate it to a local school/shelter.
There are MANY ideas for D.I.Y to help kids enjoy learning about the Solar System. If you liked the ideas above, do share with your friends! Don't forget to subscribe to our website and like us on Instagram (@kishmishkidz): https://www.instagram.com/kishmishkidz/?hl=en
Support us!


Comments